|
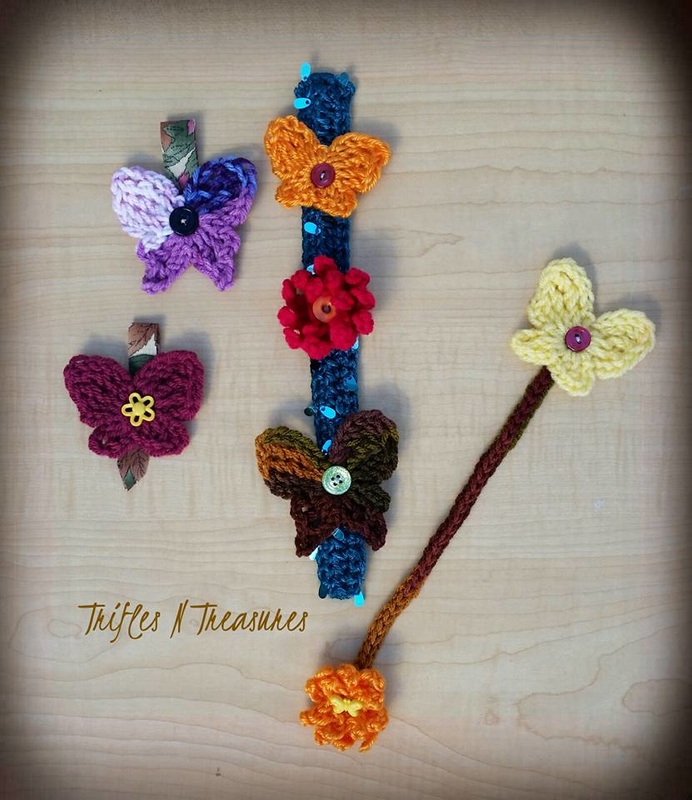
Have you ever just wanted to add a bit of whimsy to a project? How about just a whimsical project? These 3 super quick and super easy projects might be just the ticket! They literally take MINUTES TO MAKE :) We have a charming wall/door hanger, cute tag ornaments, and a fun bookmark! And the best part is~they are completely customizable! Follow me for the instructions for all 3 projects~ |
Decorator Set
Crochet Pattern
Materials Used:
Worsted weight yarn, in your choice of colors
Size H/8 (5.00mm) crochet hook
½” buttons~any style
Optional~½” wide ribbon
Needle and thread
Size/Gauge:
Gauge is not important to these projects.
Finished models measure approximately~Large Butterfly~3” tall x 3” wide, Small Butterfly~2.25” tall x 2.75” wide, and Button Mums~2” across.
Stitches Used/Abbreviations:
Ch-chain
Rnd-round
Sc-single crochet
Hdc-half double crochet
Dc-double crochet (Yarn over once, insert hook in st, yarn over, pull up a loop. Yarn over, pull through 2 loops. Yarn over pull through last 2 loops.)
Trc-triple (or treble) crochet (Yarn over twice, insert hook in st, yarn over, pull up a loop. Yarn over, pull through 2 loops, 2 times Yarn over pull through last 2 loops.)
Dtrc-double triple crochet (Yarn over three times, insert hook in st, yarn over, pull up a loop. Yarn over, pull through 2 loops, 3 times. Yarn over pull through last 2 loops.)
Sl st-slip stitch
Large Butterfly:
Rnd 1: ch 5. Join with a sl st to the 1st ch, to form a ring.
Rnd 2: ch 7. Work 2 dtrc in ring. Trc in ring. Ch 4. Sl st in ring. (1st wing made)
Ch 4. Dc in ring. Ch 3. Sc in 2nd ch from hook. Sc in next ch. Dc in ring. Ch 2. Sl st in ring. (2nd wing made)
Ch 2. Dc in ring. Ch 3. Sc in 2nd ch from hook. Sc in next ch. Dc in ring. Ch 4. Sl st in ring. (3rd wing made)
Ch 4. Trc in ring. Work 2 dtrc in ring. Ch 7. Sl st in ring. Fasten off. Weave in ends.
Small Butterfly:
Rnd 1: ch 5. Join with a sl st to the 1st ch, to form a ring.
Rnd 2: ch 6. Dtrc in ring. Trc in ring. Dc in ring. Ch 3. Sl st in ring. (1st wing made)
Ch 4. Dc in ring. Hdc in ring. Ch 1. Sl st in ring. (2nd wing made)
Ch 1. Hdc in ring. Dc in ring. Ch 4. Sl st in ring. (3rd wing made)
Ch 3. Dc in ring. Trc in ring. Dtrc in ring. Ch 6. Sl st in ring. Fasten off. Weave in ends.
Button Mums:
Rnd 1: ch 5. Join to 1st ch with sl st to form a ring.
Rnd 2: *ch 3. Sl st in 2nd ch from hook. Sl st in next ch. Sl st in FLO of next ch on ring*. Repeat (*) around. Join. (5 petals)
Rnd 3: Working in unused BLO from rnd 2, work 2 sc in each st around. Join. (10 sts)
Rnd 4: *ch 4. Sl st in 2nd ch from hook. Sl st in each of the next 2 chs. Sl st in FLO of next st*. Repeat (*) around. Join. Fasten off. (10 petals)
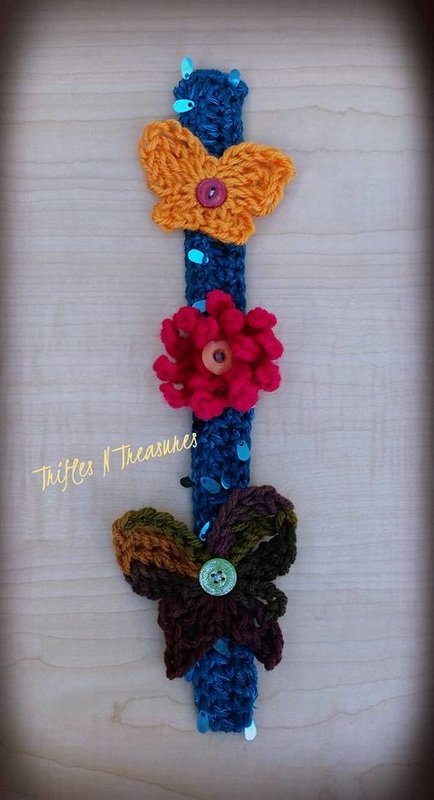
To create a Wall/Door Hanger:
Row 1: ch 41. Sc in 2nd ch from hook, and each remaining ch. (40 sts)
Row 2: ch 1, TURN. Hdc in each st across. (40 sts)
Row 3: ch 1, TURN. Sc in each st across. (40 sts)
Ch 1, TURN slightly, to work across short edge. Sc in same st as last sc. Ch 2. Skip hdc row end. Sc in opposite corner st. Fasten off. Weave in ends.
Using needle and thread, stitch desired number of buttons to front center of hanger, evenly spaced apart. Button your butterflies/mums where you like them!
Tag Ornaments:
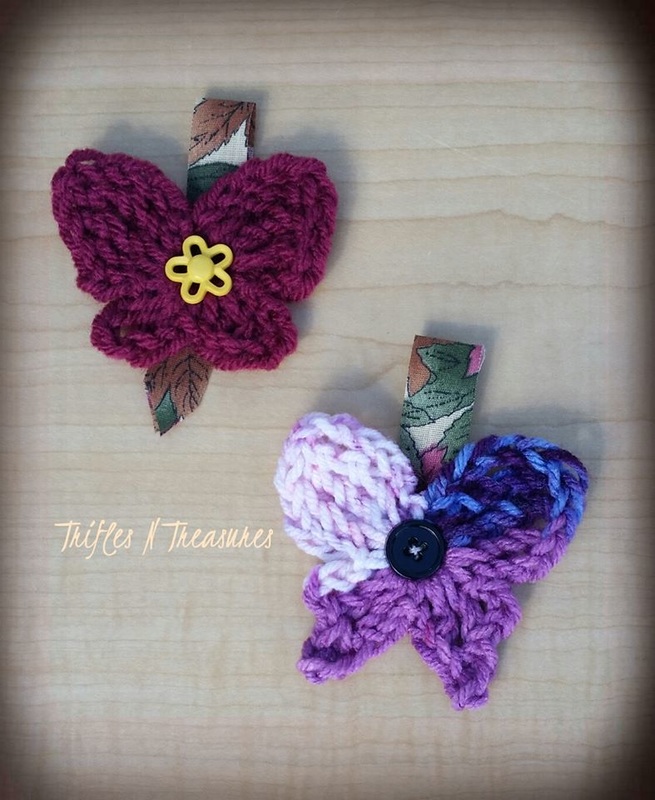
Cut ½” wide ribbon into approximately 6” lengths. Fold in half, and stitch a button through both layers at once. Cut bottom edge into a point, if desired. Button on a butterfly or mum!
Bookmark:
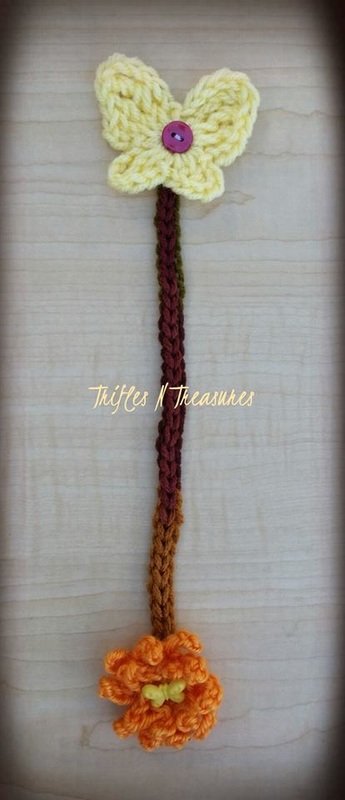
Ch 36. Sl st in 2nd ch from hook, and each remaining ch. Fasten off. Weave in ends.
Using needle and thread, stitch one button to each end of strip. Button a butterfly to one end, and a mum to the other.
Butterflies and mums also make fantastic quick appliques for all other projects!




 RSS Feed