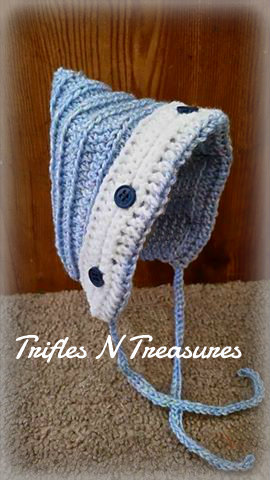
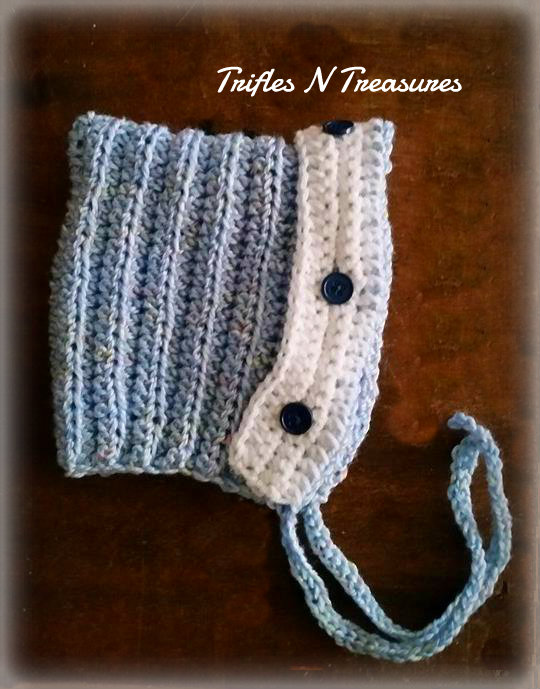
| I was asked by a friend to design a quick and simple baby bonnet to go with some cute sweaters she was making for newborns. This sweet little bonnet is what I came up with! It is sized for 0-3 mos ONLY, and uses sport weight yarn, but could easily be upsized with larger hooks and heavier yarn. Follow me for the pattern~ |
| Button Back Bonnet Crochet Pattern Materials Used: Sport weight yarn (Model made in Red Heart Soft Baby) Size G/6 (4.25mm) crochet hook 5 small buttons Needle and thread Size/Gauge: 0-3 mos. Gauge: 6 hdc ribbed rows=2” 10 hdc sts=2” Stitches Used/Abbreviations: Ch-chain Sc-single crochet Hdc-half double crochet Hdc2tog-half double crochet two stitches together BLO-work in back loops only of indicated stitch(es) Sl St-slip stitch |
Row 1: ch 26. Hdc in 2nd ch from hook, and each of the next 23 sts. Work 2 hdc in last st. Working the opposite side of the chain, hdc in each of the next 24 sts. (50 sts)
Rows 2-15: ch 1, TURN. Working in BLO across entire row, hdc in each st across. (50 sts) Do not fasten off.
Ties and Edging: ch 41. Sl st in 2nd ch from hook, and each remaining ch. Sc evenly across bottom edge~1 st in each row end. (30 sts) ch 41. Sl st in 2nd ch from hook, and each remaining ch. Sl st in same st as beginning ch. Fasten off.
Button Plaquard:
Row 1: With wrong side of hat facing you, join contrast color yarn in bottom corner st. Ch 1. Hdc in same st as joining, and each st across. (50 sts)
Row 2: ch 1, TURN. Sc in each st across. (50 sts)
Row 3: ch 1, TURN. Sc in each of the next 4 sts. Ch 2. Skip 2 sts. Sc in each of the next 8 sts. Ch 2. Skip 2 sts. Sc in each of the next 8 sts. Ch 2. Skip 2 sts. Sc in each of the next 8 sts. Ch 2. Skip 2 sts. Sc in each of the next 8 sts. Ch 2. Skip 2 sts. Sc in each of the last 4 sts. (40 sts+5 button holes)
Row 4: ch 1, TURN. Sc in each st and ch 2 space across, working 2 sc in each ch 2 space. (50 sts)
Row 5: ch 1, TURN. Hdc2tog. Hdc in each of the next 46 sts. Hdc2tog. Fasten off.
Fold plaquard back against hat, and stitch one button in place for each button hole. Button in place, weave in all ends, and your hat is done!


 RSS Feed